

The material used was from a dress I had, and could not wear anymore as I had lost some weight. I decided to convert the original dress into a skirt with an elastic band, and with the remnants I made this little circle skirt for Clover.
http://www.danamadeit.com/2008/07/tutorial-the-circle-skirt.html
I used the very helpful link above, and of course adapted it to fit my doll. I'm not sure where I threw the template or there'd be measurements to go with this post T-T No matter, it's easy enough for those who have some sewing-with-paper-pattern experience.
The ancient sewing monster was not co-operative at all with this thin fabric, and I couldn't hem nor stitch the waistband portion with it, so all of the stitching was done by hand with an invisible hem.
(OOOH I went in search of links and found out that it's also known as a 'blind hem'! Learnt something new today! ALSO LEARNT THAT THERE IS A BLIND HEM FOOT FOR THE SEWING MACHINE OMFG WANTTTTTTTTTTTTTTTTTTTTTTTTTT my new sewing machine is arriving on Monday ^ ^ i don't even know if it has that function, but whatever.....)
I do my hemming slightly differently, it's how my mom taught me when i was about 6....i used to hem my own uniforms :S but the circle skirt meant that there were ALOT of stitches to go through, i cannot imagine the time it would take me to hem a 1:1 circle skirt!!! o.O""""
anyhow. My original intent was to just make a cute little tutu for Clover. I first latched on to the notion after surfing some random person's video on Youtube. it seemed really easy, and no sewing was required! back then I hadn't even dug out the old relic from its hiding place, so a tutu just seemed like the easiest version of a skirt for a young girl. but after making the circle skirt, was more determined to get one done, as I wanted to make it appear as if Clover was twirling around in her new skirt, much like my cousin and I did when we were kids :)
So here's how I made mine for 1:4/1:6 dolls. I first went in search for a tutorial, and referenced this one:
http://rookiemag.com/2012/09/how-to-make-a-tutu/
You can as easily adapt it for longer/shorter, but this is how I managed mine. Please read the original tutorial in the above link before reading my version, as it'll be easier to understand what I'm rambling on about :E
~~~~~~~~~~~~~~~~~~~~~~~~~~~~~~~~~~~~~~~~~~~~~~~
Easy no-sew tutu skirt for Iplehouse KID BJDs


folded it in half, but not quite touching the hemmed edge as I planned to trim it off.

at this point, there are 4 layers....

and folded in half again AND again to yield 16 layers

switched to larger clips, holding the fabric at where the halfway mark of each strip should be at
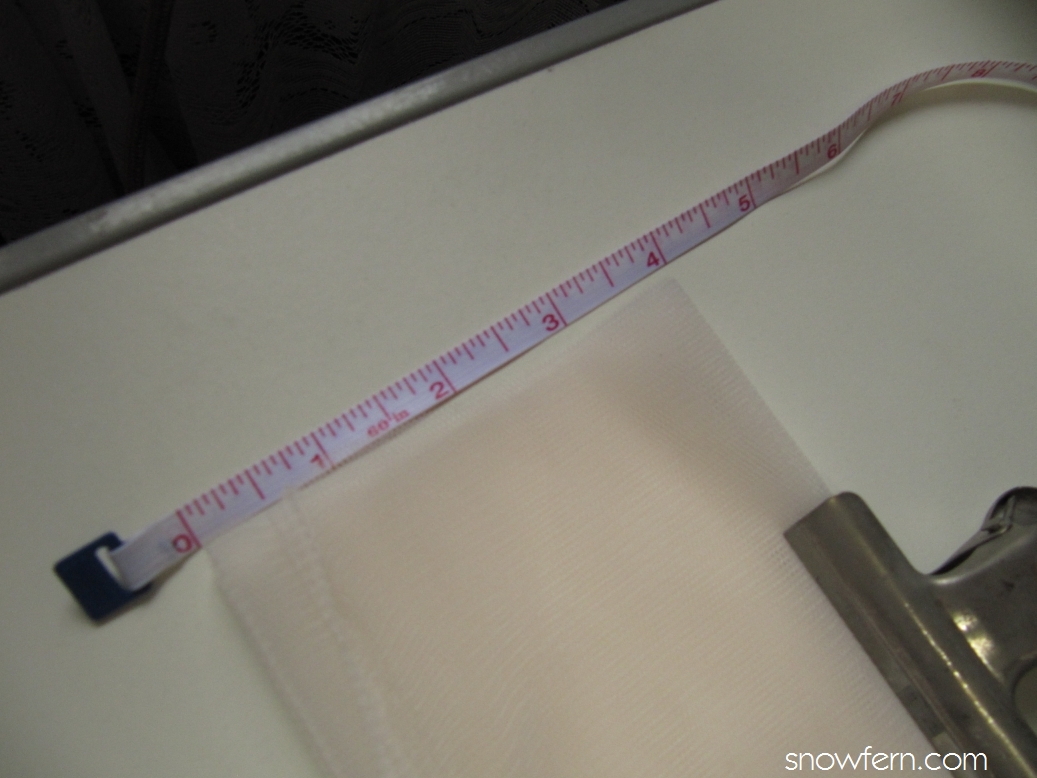
Here's how long the tutu was to be approximately. Wasn't too concerned with being too accurate or precise with the measurements this time, and so it was alot more relaxing a project hehehh.

trimmed off the hemmed edge

started cutting the first fold (1 layer)

moved to the next fold (2 layers)

and the final fold (4 layers)


Hooked it to my sewing machine since it seems that's the only good thing this machine is for. *smirks* start adding the tulle strips to the ribbon, keeping in mind to always go the same direction for a neater result.
unless you don't prefer it that way, but i do anyway. :S

as you can see, the pink ribbon has magically turned into a slimmer white ribbon. yeah, i found it too wide, and switched to a 3mm ribbon. also, alternated between the peach/pink and white/ivory tulle, but TBH, i think it doesn't really matter cos the colour difference isn't too visible at this scale :( it's still purty though!

almost done!


eeeee I RIKES SO MUCHY
and then I thought about having to fiddle with knots at the back and a ribbon hanging down all the time, so I took it all off and started again, this time using elastic band XD

yeah, i'm lazy. but it works ;)

as a petticoat of sorts!

or on its own :)

whee!~
~~~~~~~~~~~~~~~~~~~~~~~~~~~~~~~~~~~~~~~~~~~~~~~
Notes to self:
- Alternate the pink/white strips perhaps 2-2, or 3-3 so the colour difference is more noticeable
- make a shorter version to hide under skirts just for volume, or as an actual ballerina tutu, though the thought of making the leotard is giving me hives
- alternate tulle with ribbons, might be quite mardi gras???
Do let me know if you make one for your doll too! and please share or link back to this tutorial if you've found it interesting/useful :)
ON TO THE NEXT POST
No comments:
Post a Comment
Thanks for commenting! I read every single one, and appreciate them!